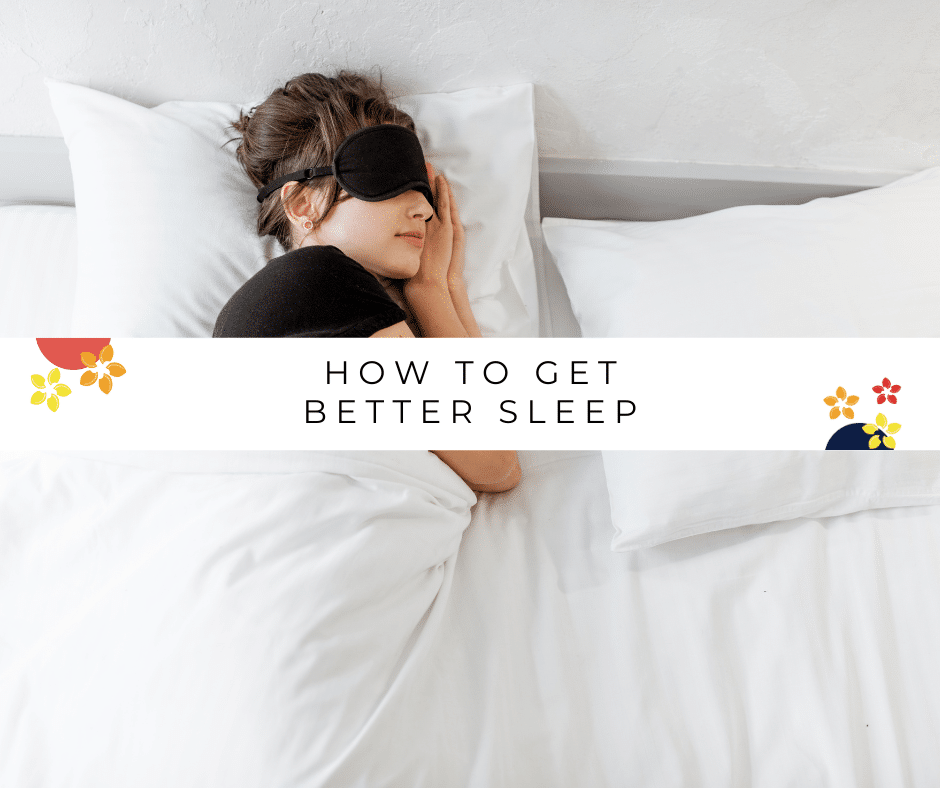
Play with Color this Spring with a fun Smokey Eye!
Some makeup trends come and go, but throughout the decades, the smokey eye has prevailed.
It is a solid go to look for date night, the red carpet, or just for fun. Perhaps due to its versatility, or perhaps due to the fact that it never fails to bring out so much beauty and cool factor to one’s face.
Now that it’s Spring, I want to do a smokey eye, but rather than it being in a stereotypical black, gray, or taupe, I’d like to use this look as an opportunity to play with color and step outside of my comfort zone. The smokey eye is so much fun because it does not have to be perfect, and is a great way to practice blending eyeshadow.
So, without further ado, here are my directions for the Springtime Smokey Eye!
Step One, Ingredients
For this look you will need:
- eyeshadow primer
- a skin toned eyeshadow (such as bone, caramel, peach, or beige)
- a color of your choice for the smokey eye portion of the look. Make sure that the color you choose is at least 2 shades darker than your skin toned eyeshadow, and I would strongly recommend using a color that is not black, gray, or brown, as this look is about playing with color.
- black eyeliner
- mascara
- two clean eyeshadow brushes.
No look is complete without doing the proper face makeup (foundation, concealer, powder, blush, and brow pencil or powder) so make sure you have those items on hand as well. Also for editing purposes, it would help to have some Q-tips and an eye makeup remover or cold cream, as well as makeup remover wipes.
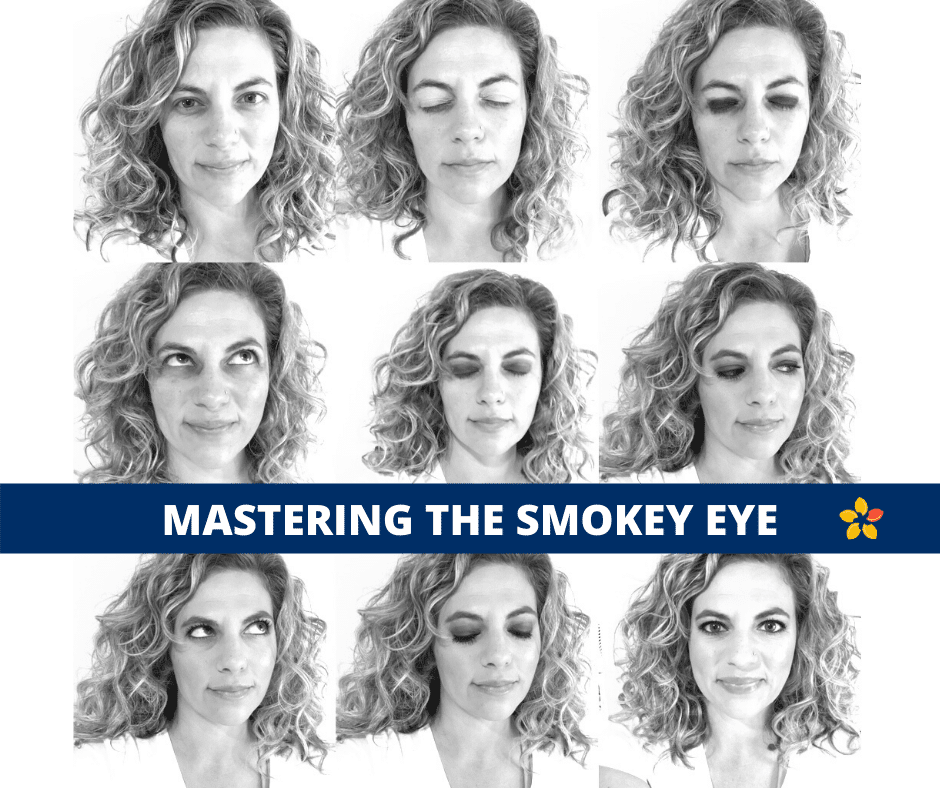
Step 2.) Prime the eye
Start off with a clean makeup free face. Prime your eyelids with an even coat of eyeshadow primer. Close your eyes for at least one minute to make sure the primer is totally dry. Use this time to think about how fabulous you are going to look with your smokey eye.
Step 3.) Eyeshadow
With your finger, take your skin toned eyeshadow and apply an even coat all over your eyelids. Voila, your eyes are primed and ready!
Step 4.) Smokey Eye
And now, for the fun, (and sometimes scary part) it’s time to do your smokey eye. Take the eyeshadow color that you chose (I went with a deep cobalt blue) and dip your eyeshadow brush into the color and fully saturate it with eyeshadow. Then, tap your brush against your arm to make sure the excess falls off the brush.
Step 5.) Even Coat of Shadow
Put a smooth, even coat of shadow on one eyelid. Then, re-saturate your brush in the eyeshadow again, once again tapping the brush against your arm to remove the excess. Now, coat your other eyelid and mimic the application you did on the first eye.
Step 6.) Blending
Here comes my favorite part. Take a clean eyeshadow brush and blend the color away from the lid in a circular motion. The color should fade into nothing, causing a smokey effect. Use your discretion to get the shape that you like. Make sure that the eyeshadow on your eyelids is not patchy, meaning, no skin is showing through the color.
Step 7.) Cleaning Time
Look in the mirror, assess the shape, and as they say in cooking “season to taste.” If there is a part of the eyeshadow that veers outside of your desired shape, simply dip a Q tip in some eye makeup remover or cold cream and erase the area that you dislike.
Step 8.) Eyeliner
Once you are happy with the shape of your smokey eye and the eyeshadow is even with no patches or skin showing through, take your black eyeliner and draw a simple clean line across your eyelid. Make sure the line is smooth and straight. If you would like, you can smudge the line with your pinky for a hip messy look.
Step 9.) Lash Line
Now, take either your pinky, or a tiny brow brush or eyeliner brush, and dip it in the color you used for your smokey eye. Apply a very thin and subtle line of that color to your bottom lash-line. Look in the mirror and assess the shape, making any adjustments you like. I often smudge the line with my pinky to make it more aloof and less obvious of a line.
Step 10.) Mascara
Apply a coat of mascara to your top and bottom lashes, and for that extra punch, go ahead and add some black eyeliner to your upper and lower water line.
Remember this look is supposed to be fun and creative, so my advice is not to be too hard on yourself. If you are getting frustrated, stop, wash your hands, and walk away from the mirror for a minute. I’ll admit, I got a bit frustrated blending the dark cobalt eyeshadow, and I had to step away for a few seconds. Once you have taken a few deep breaths, go back and reassess. Chances are, if you like the way the makeup looks, then you have completed your smokey eye! The whole point of a smokey eye is to make you feel sexy and confident, and shapes and styles may vary person to person, taste to taste.
I like to do the smokey eye first, and once I’m happy with it, then I take a makeup remover wipe, and clean off my face, as the eyeshadow tends to fall down my cheeks. If you are just doing this for fun and practice then no need to finish your entire face of makeup, but if you are going out, now is the time to carry on with your foundation, concealer, and the rest of your face.
I hope you enjoy this look! I’d like to thank Jubilance For PMS for giving me the opportunity to write this article. Without Oxaloacetate (Jubilance PMS Support) I may not have been in proper shape to write this article.
Have a wonderful, joyful, blissful, and extremely Happy Spring!!!